- First, Place the cursor on the slide wherever you want to insert the table
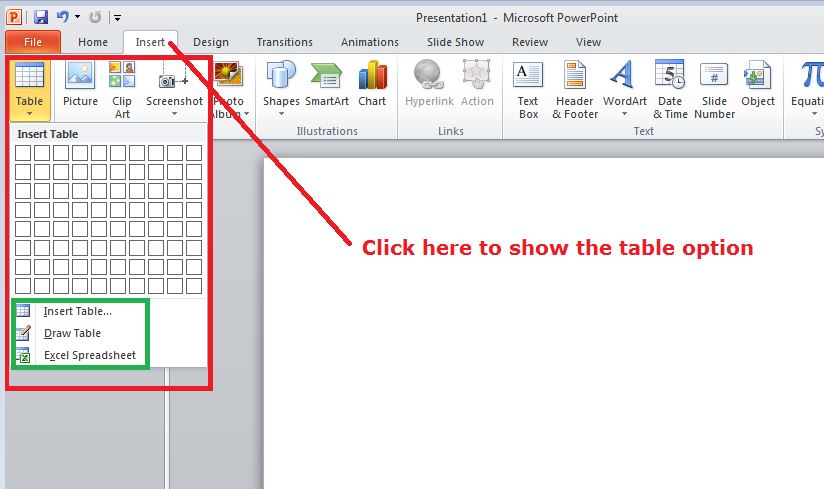
- Click on the Insert tab, it will now display the Tables group on the left
- Click on the Table button, it will now display four options to insert the table:
1) Highlight the Number of Rows and Columns that you want
You will now see small boxes on top, select the boxes corresponding to the number of rows and column that you want in your table.
See the image:

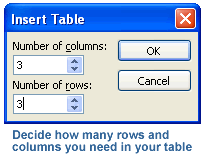
2) Insert Table
Click on the Insert Table option and enter the required number of rows and columns then click OK.
See the image:

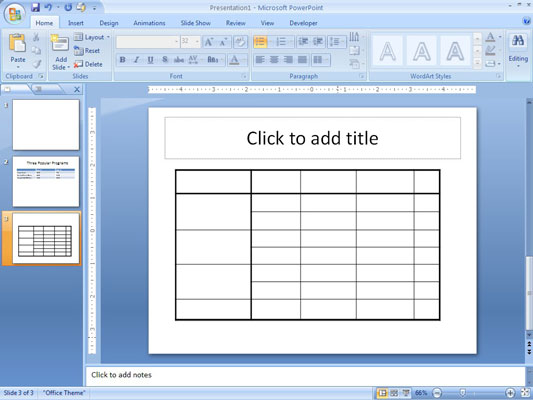
3) Draw Table:
Click on the Draw Table option and place the cursor on the slide. Cursor immediately changes into a pencil. Click and drag the pencil to draw a customized table border.
See the image:

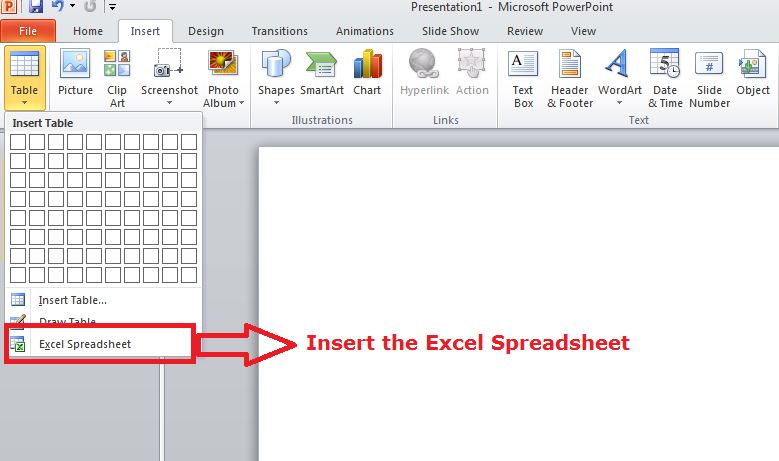
4) Excel Spreadsheet:
Click on the Excel Spreadsheet option. Worksheet will now appear in the slide, drag it further to get the desired number of rows and columns.
See the image:
